Cleaning and repair of headstones
Cleaning headstones is only necessary when a stone is really filthy and/or has things growing on it. You do not want to clean a headstone as often as you clean your car. Except for a simple wipe down with a dry towel, I think a good cleaning every 10 years should be enough. You want to be very careful with headstones because once damage is done it cannot be undone. Headstones are pieces of history and are lasting reminders of a person and must be handled with the utmost respect. Permission should be sought from the cemetery prior to cleaning stones. Permission should also be obtained from the family of the person whose stone you are cleaning unless you are a relation.
The equipment needed is fairly simple. A scrub brush with natural or synthetic fibers. It should be something soft, like the bristles on a tooth brush. You do not want anything with rigid bristles and definitely nothing with wire bristles. Would you use a wire brush on your car? No? Then do not use it on a tombstone, it will remove filth yet it will remove stone particles as well and can very easily ruin a stone. Just a soft bristled nylon scrub brush is fine. You must also never use a brush on a power drill... in fact, if you are thinking of using any power tool, please stop.
You will also want a plastic scraper or even a wooden paint stirring stick. This is used to remove the more chunky stuff like moss, bird poo and the like. Just lightly run the scraper across the surface of the stone where there is moss growing. Don't use force or dig into the stone.
Water is the most important part of the cleaning process and you will want to bring plenty with you. A hand-pump sprayer is very useful for cleaning gravestones. For the love of God do not use a pressure washer.
The only other item you will need is D2 biological solution. It is a bit pricey at $50 a gallon... but a gallon will easily clean a dozen stones and will do a better job than anything else. It is not harmful to stone unlike many household cleaners. Do not use bleach or dish soap or anything of that nature. One good thing about D2 is that it will continue to slowly work for weeks and will kill off any growth or bacteria growing on the stone. If you don't want to buy D2, just use water.
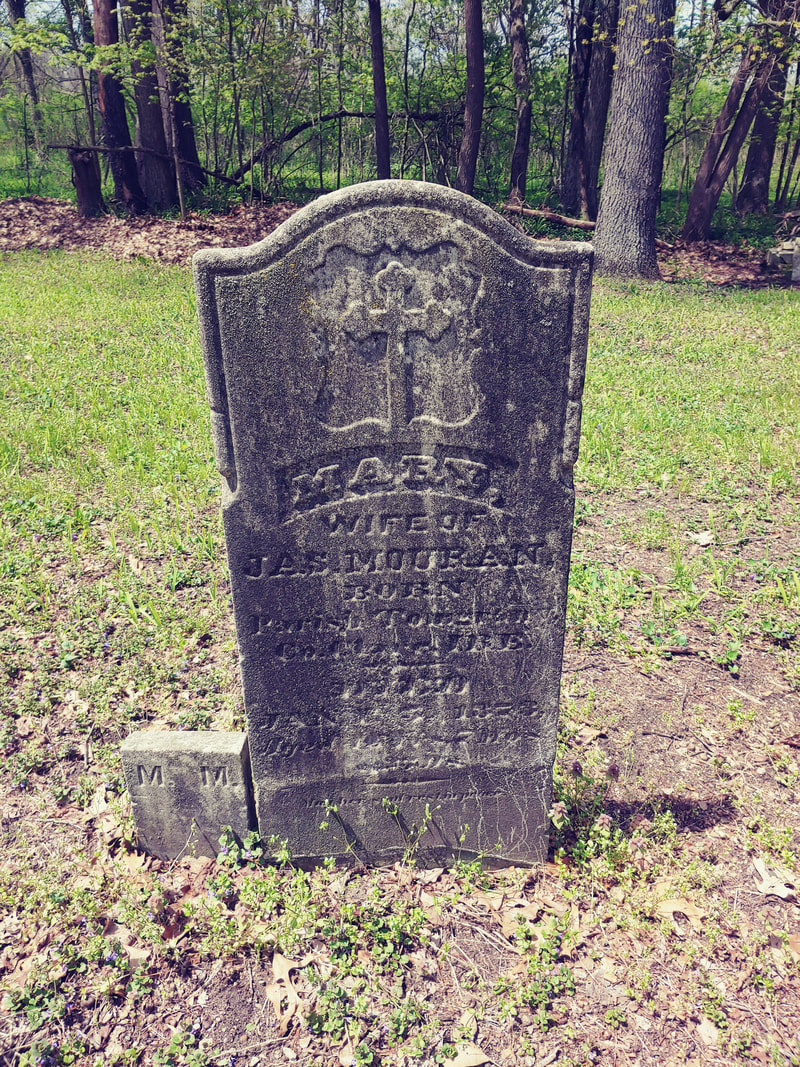
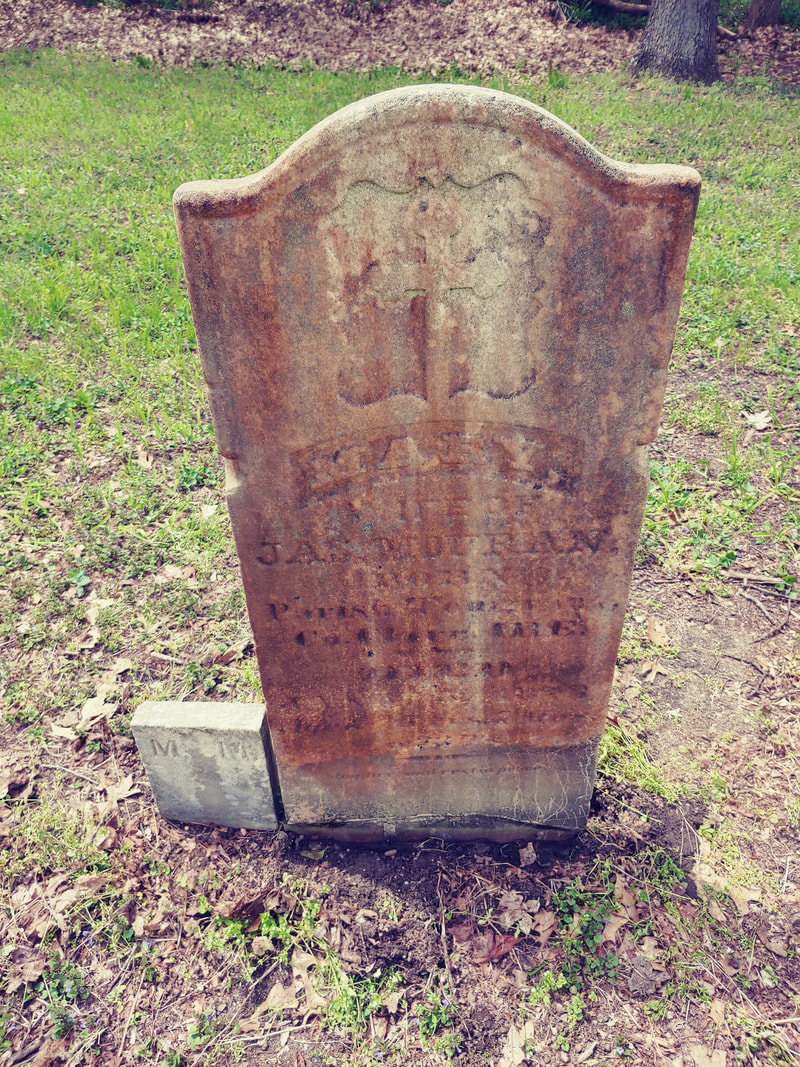
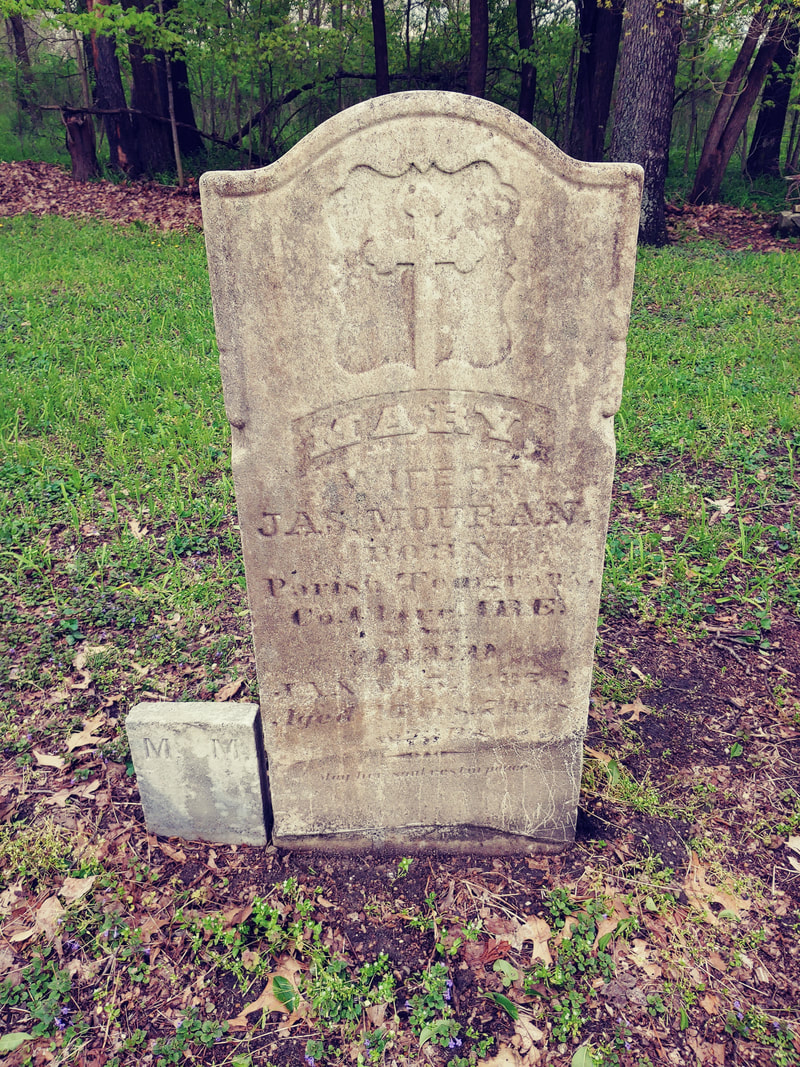
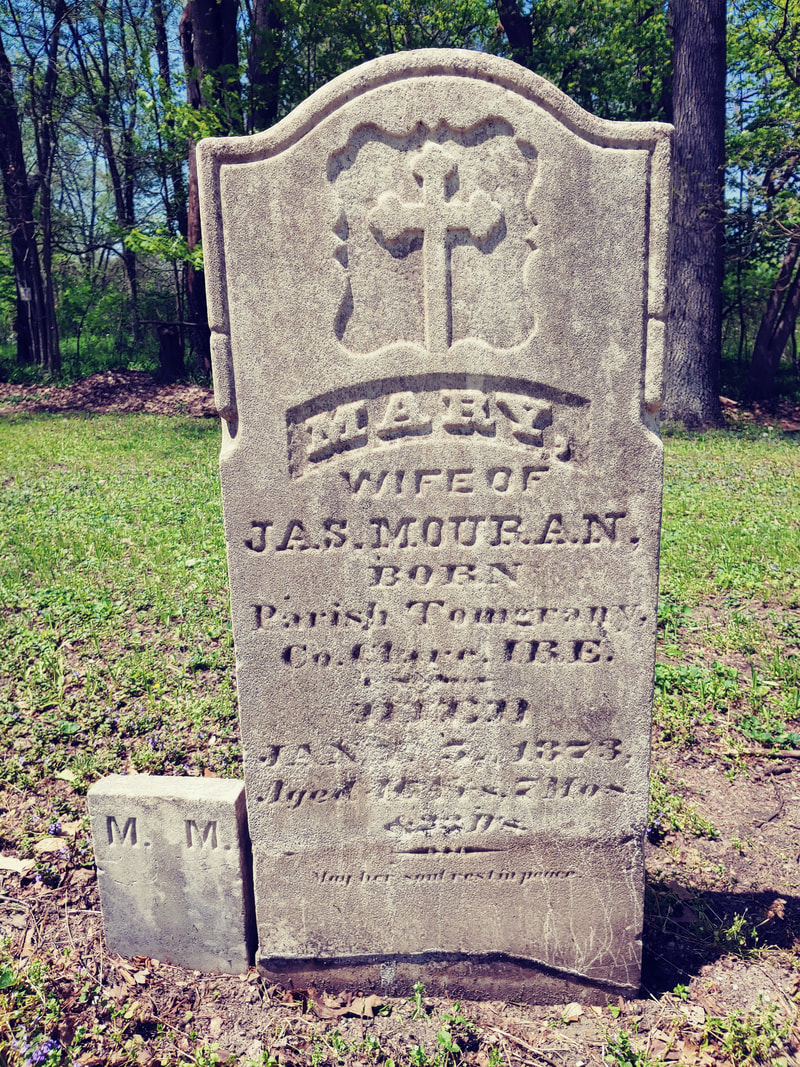
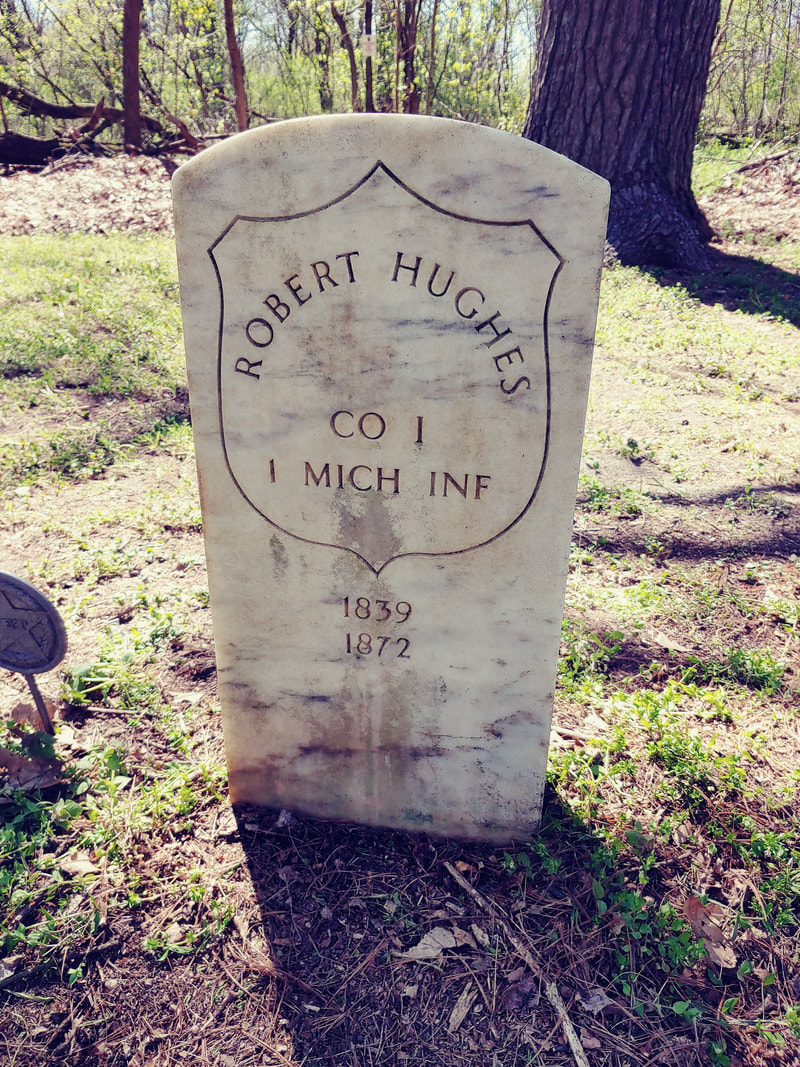
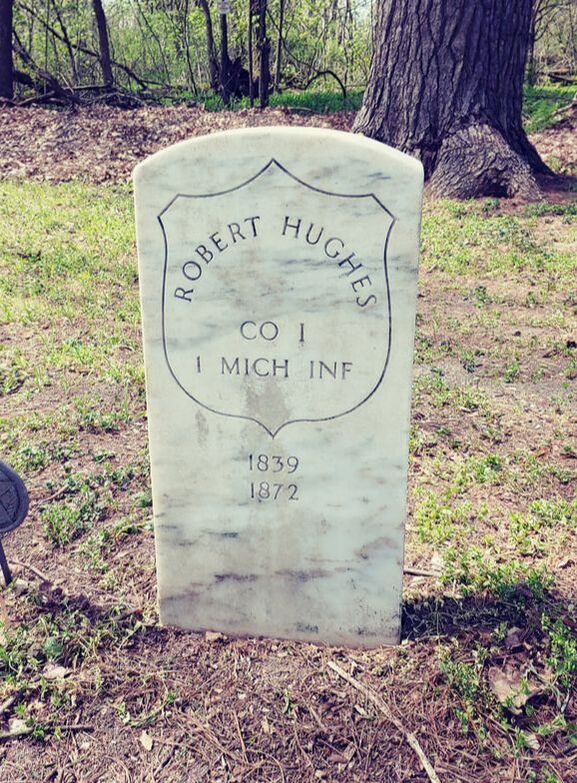
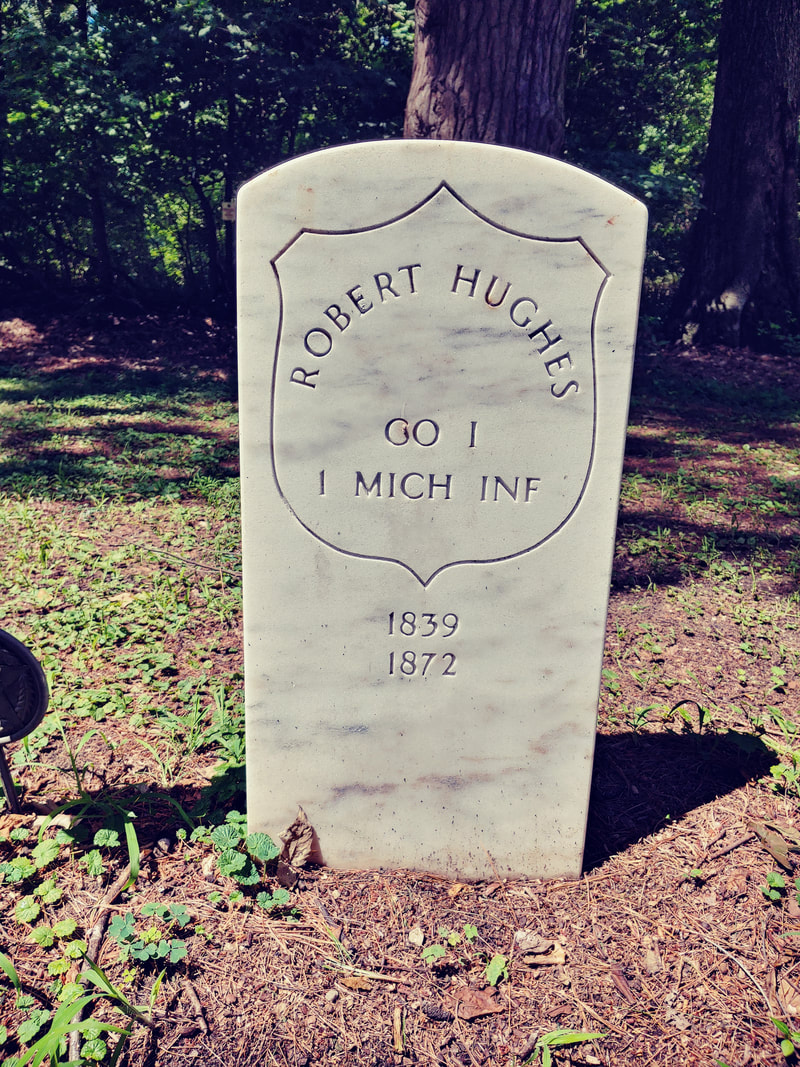
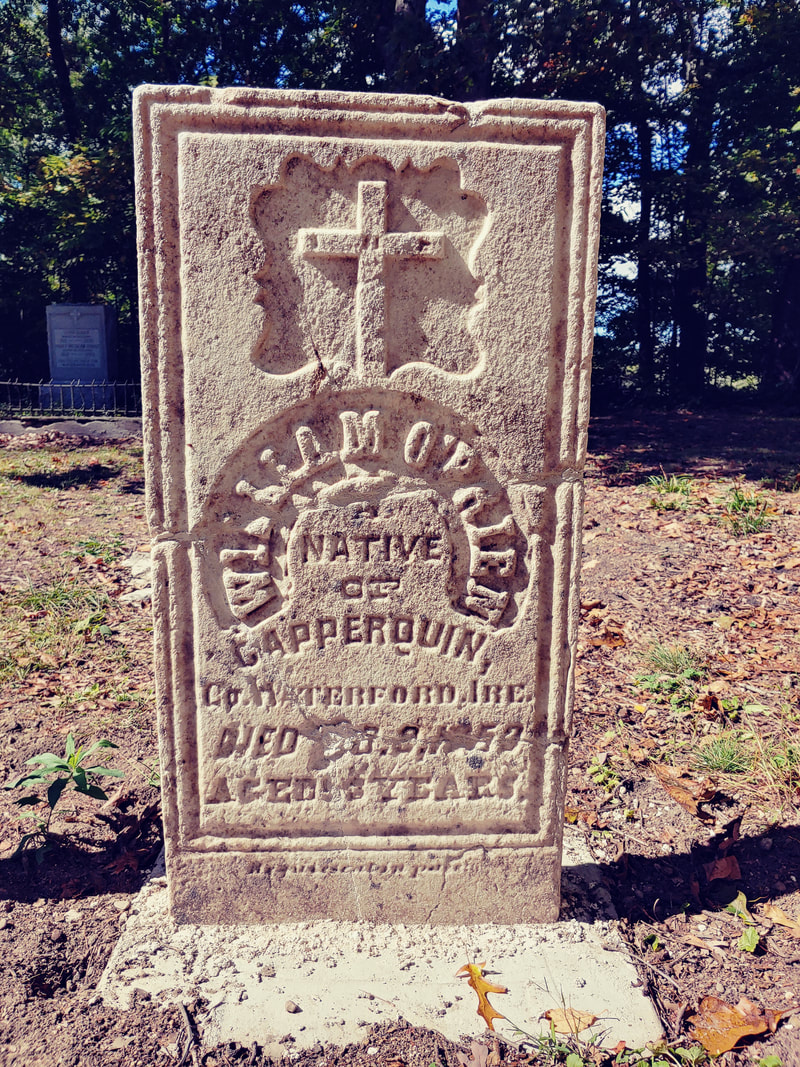
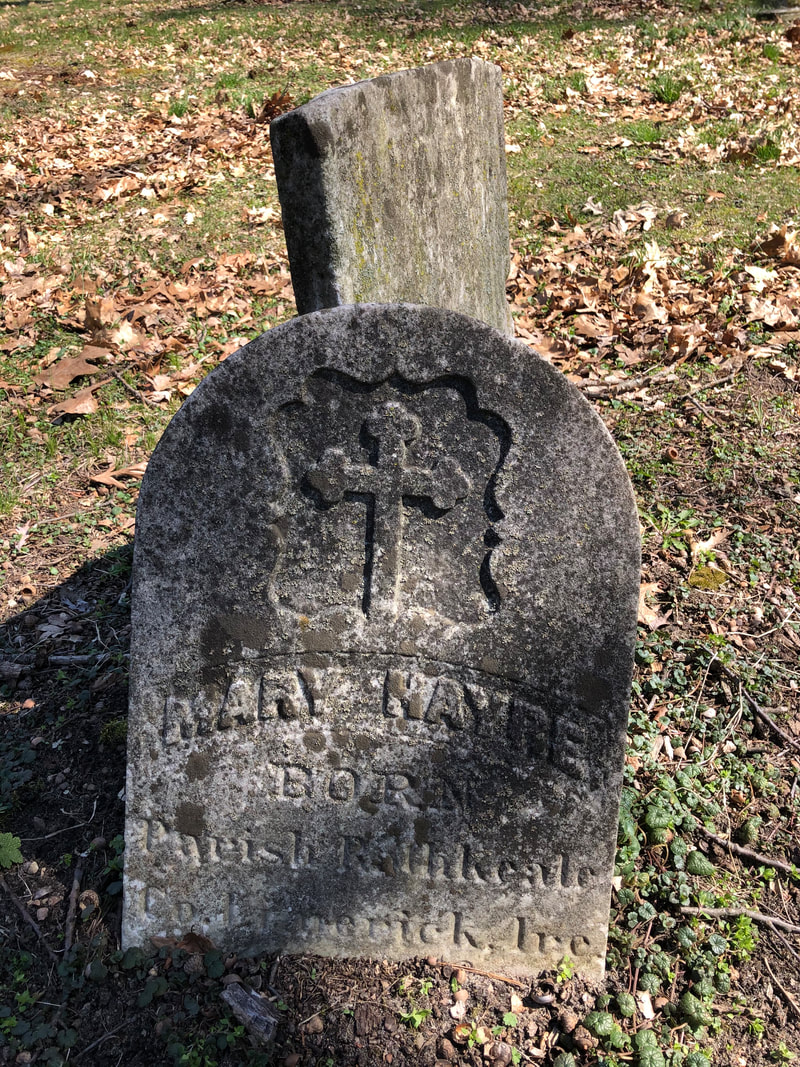
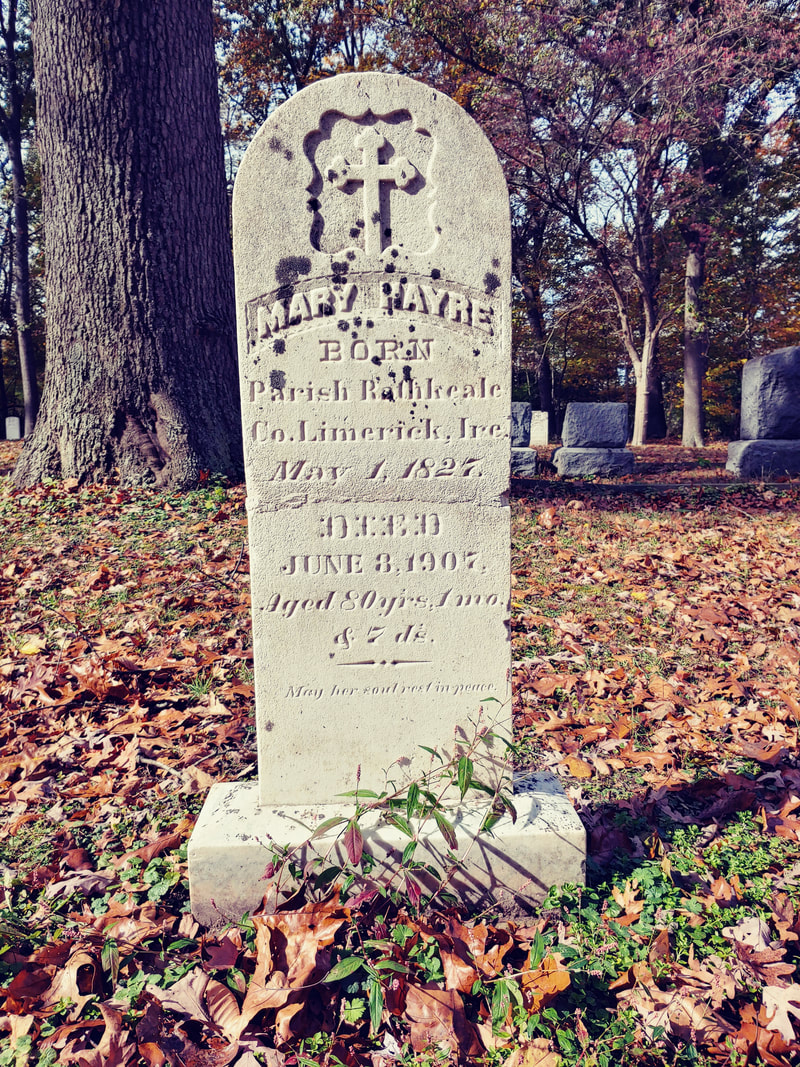
Begin by wetting the whole stone down. Then, using the scraper, remove any moss or lichen growth. Spray the stone down with water again and spray with D2. Allow the D2 to work for 10 minutes or so and then wet down the stone again and lightly scrub with the brush. Once again, get out that water sprayer and wash away the grime from the scrubbing. Finally, while the stone is still wet, spray it down with the D2 a second time and leave it. The stone will not look absolutely beautiful right away, but give the D2 a couple of weeks or a month. The point of the washing is not to make the stone look brand new again, but to get rid of the things that are causing damage to the stone, obscuring its lettering and making the stone presentable again.
Atlas Preservation, a great place to obtain all the grave cleaning supplies you might need.
A nice video of how to properly clean a stone.
The equipment needed is fairly simple. A scrub brush with natural or synthetic fibers. It should be something soft, like the bristles on a tooth brush. You do not want anything with rigid bristles and definitely nothing with wire bristles. Would you use a wire brush on your car? No? Then do not use it on a tombstone, it will remove filth yet it will remove stone particles as well and can very easily ruin a stone. Just a soft bristled nylon scrub brush is fine. You must also never use a brush on a power drill... in fact, if you are thinking of using any power tool, please stop.
You will also want a plastic scraper or even a wooden paint stirring stick. This is used to remove the more chunky stuff like moss, bird poo and the like. Just lightly run the scraper across the surface of the stone where there is moss growing. Don't use force or dig into the stone.
Water is the most important part of the cleaning process and you will want to bring plenty with you. A hand-pump sprayer is very useful for cleaning gravestones. For the love of God do not use a pressure washer.
The only other item you will need is D2 biological solution. It is a bit pricey at $50 a gallon... but a gallon will easily clean a dozen stones and will do a better job than anything else. It is not harmful to stone unlike many household cleaners. Do not use bleach or dish soap or anything of that nature. One good thing about D2 is that it will continue to slowly work for weeks and will kill off any growth or bacteria growing on the stone. If you don't want to buy D2, just use water.
Begin by wetting the whole stone down. Then, using the scraper, remove any moss or lichen growth. Spray the stone down with water again and spray with D2. Allow the D2 to work for 10 minutes or so and then wet down the stone again and lightly scrub with the brush. Once again, get out that water sprayer and wash away the grime from the scrubbing. Finally, while the stone is still wet, spray it down with the D2 a second time and leave it. The stone will not look absolutely beautiful right away, but give the D2 a couple of weeks or a month. The point of the washing is not to make the stone look brand new again, but to get rid of the things that are causing damage to the stone, obscuring its lettering and making the stone presentable again.
Atlas Preservation, a great place to obtain all the grave cleaning supplies you might need.
A nice video of how to properly clean a stone.